How to Paint Dining Chairs the "Easy Way"
It's no secret that I love to buy things cheap and fix them up. Lord knows I have expensive taste, but a shoe-string budget. When I found these chairs at Savers Thrift Store for $7 each I knew I needed them because, although they were in rough shape, they are solid wood and great quality. A lot of furniture nowadays is made with compressed particle board *which is not what you want if you are hoping to have the furniture last for a long time* and if you're wanting to buy solid wood furniture made today, you're going to pay thousands. That is why thrift shopping has been a life changer.
I have been obsessed with the all black dining chair look, like you can see in these inspiration photos.
I knew I could create this look on a MUCH cheaper budget, with only a few items:
- This sandpaper - sanding isn't necessary but I did it as an extra precaution
- This primer (also sold at Home Depot but I could not find the link) and it is important for it to state on the can that it can be used even without sanding
- This black spray paint
- The last item was vinyl upholstery - I already had some vinyl upholstery from a different project, but you can find some cheap fabric here
Normally in order to refinish chairs/furniture, you should fully strip the old finish off. But that is the magic of this primer I used - no sanding needed!
1. First, unscrew and remove the seat cushions.
2. Then clean the chair frame with some water and dish soap and let that fully dry.
3. Then lightly sand the chair with 220 grit sand paper. The primer says that no sanding is needed, but I wanted to lightly sand to get rid of any prior dirt, and get rid of the shine just to be sure the paint would stick.
4. Wipe down the chair again with a wet rag, and then again with a dry rag to get rid of any dust from sanding. Let this fully dry.
5. Then paint at least two coats of primer over the entire chair. I used this specific paint brush. You can use any brush but I thought this size worked well for the project. The primer didn't fully cover the chair, and the red wood finish still showed through slightly, but I thought it was still enough to allow the new paint to stick to it.
6. Finally, I used the black spray paint to go over the chair very lightly. I did several light coats to prevent drips or "hot spots" from building up on the chair.
The final step was reupholstering the seat cushions. I will make a post later about how I did this, but it is much simpler than people think.
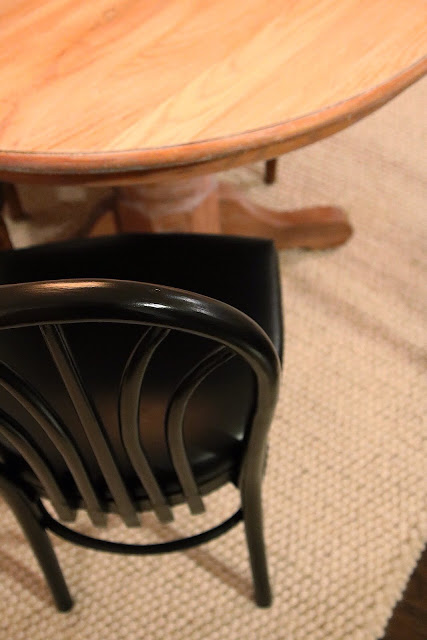
As you can see, I got a little excited and took photos before I fully finished the chairs. But you get the idea. I can't wait to complete all of them!


Comments
Post a Comment